Product
10 Tips for Marking Places on the exping
tl;dr Exping’s Web retains the core functionalities of its mobile counterpart while introducing some new assistive features tailored for large-screen usage. This article compiles some tips that can help creators enhance their efficiency in marking places.
Exping’s Web retains the core functionalities of its mobile counterpart while introducing some new assistive features tailored for large-screen usage. This article compiles some tips that can help creators enhance their efficiency in marking places. These include shortcuts for quick tagging, multi-select editing, and searching, with the aim of providing more convenience for map creation.
1. Quick Select Place Marking Tool
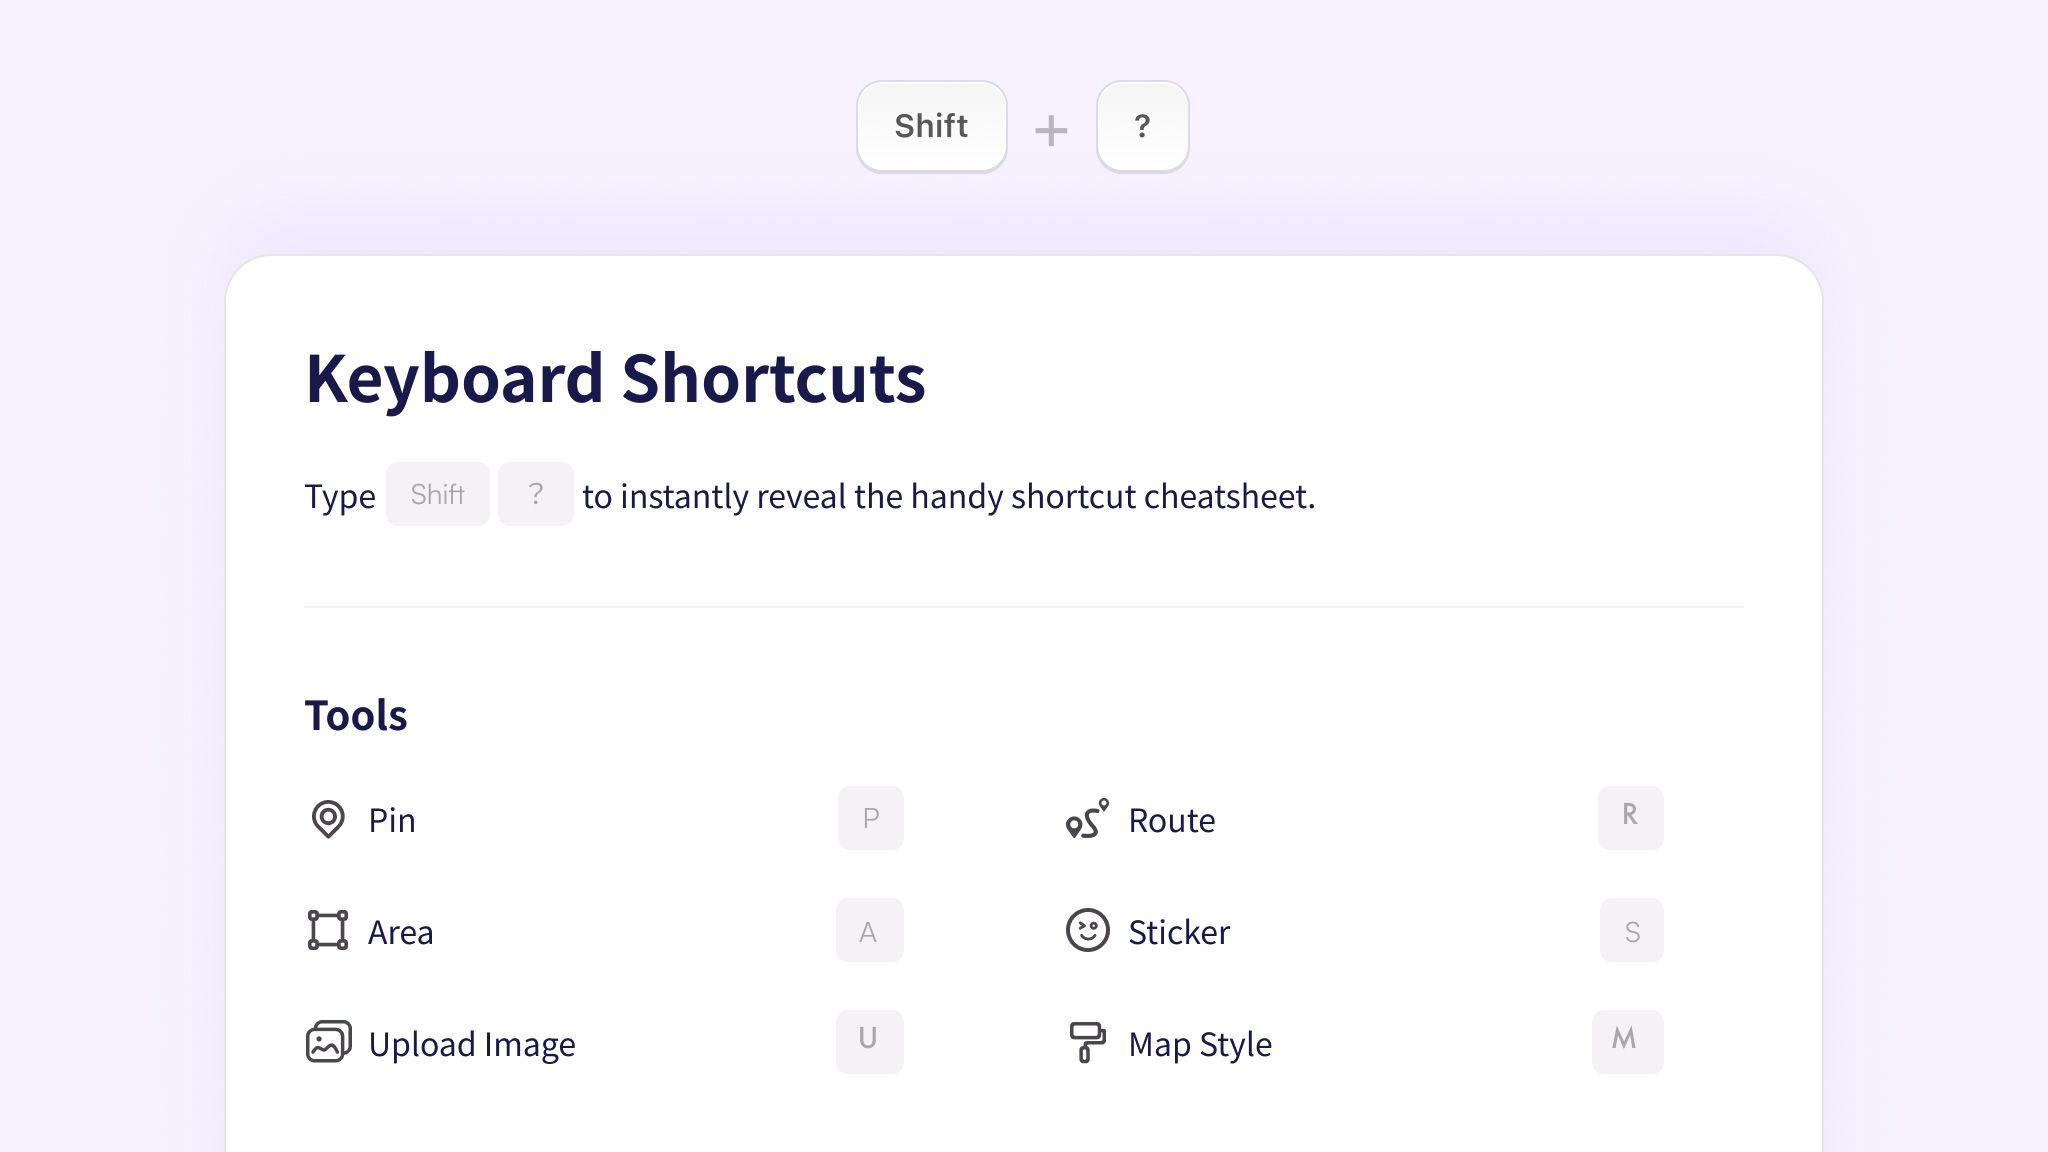
Press the P key to quickly access the location tool and start adding places.
Press Shift + ? at any time to see more shortcut keys for tools.
2. Search for Specific Addresses
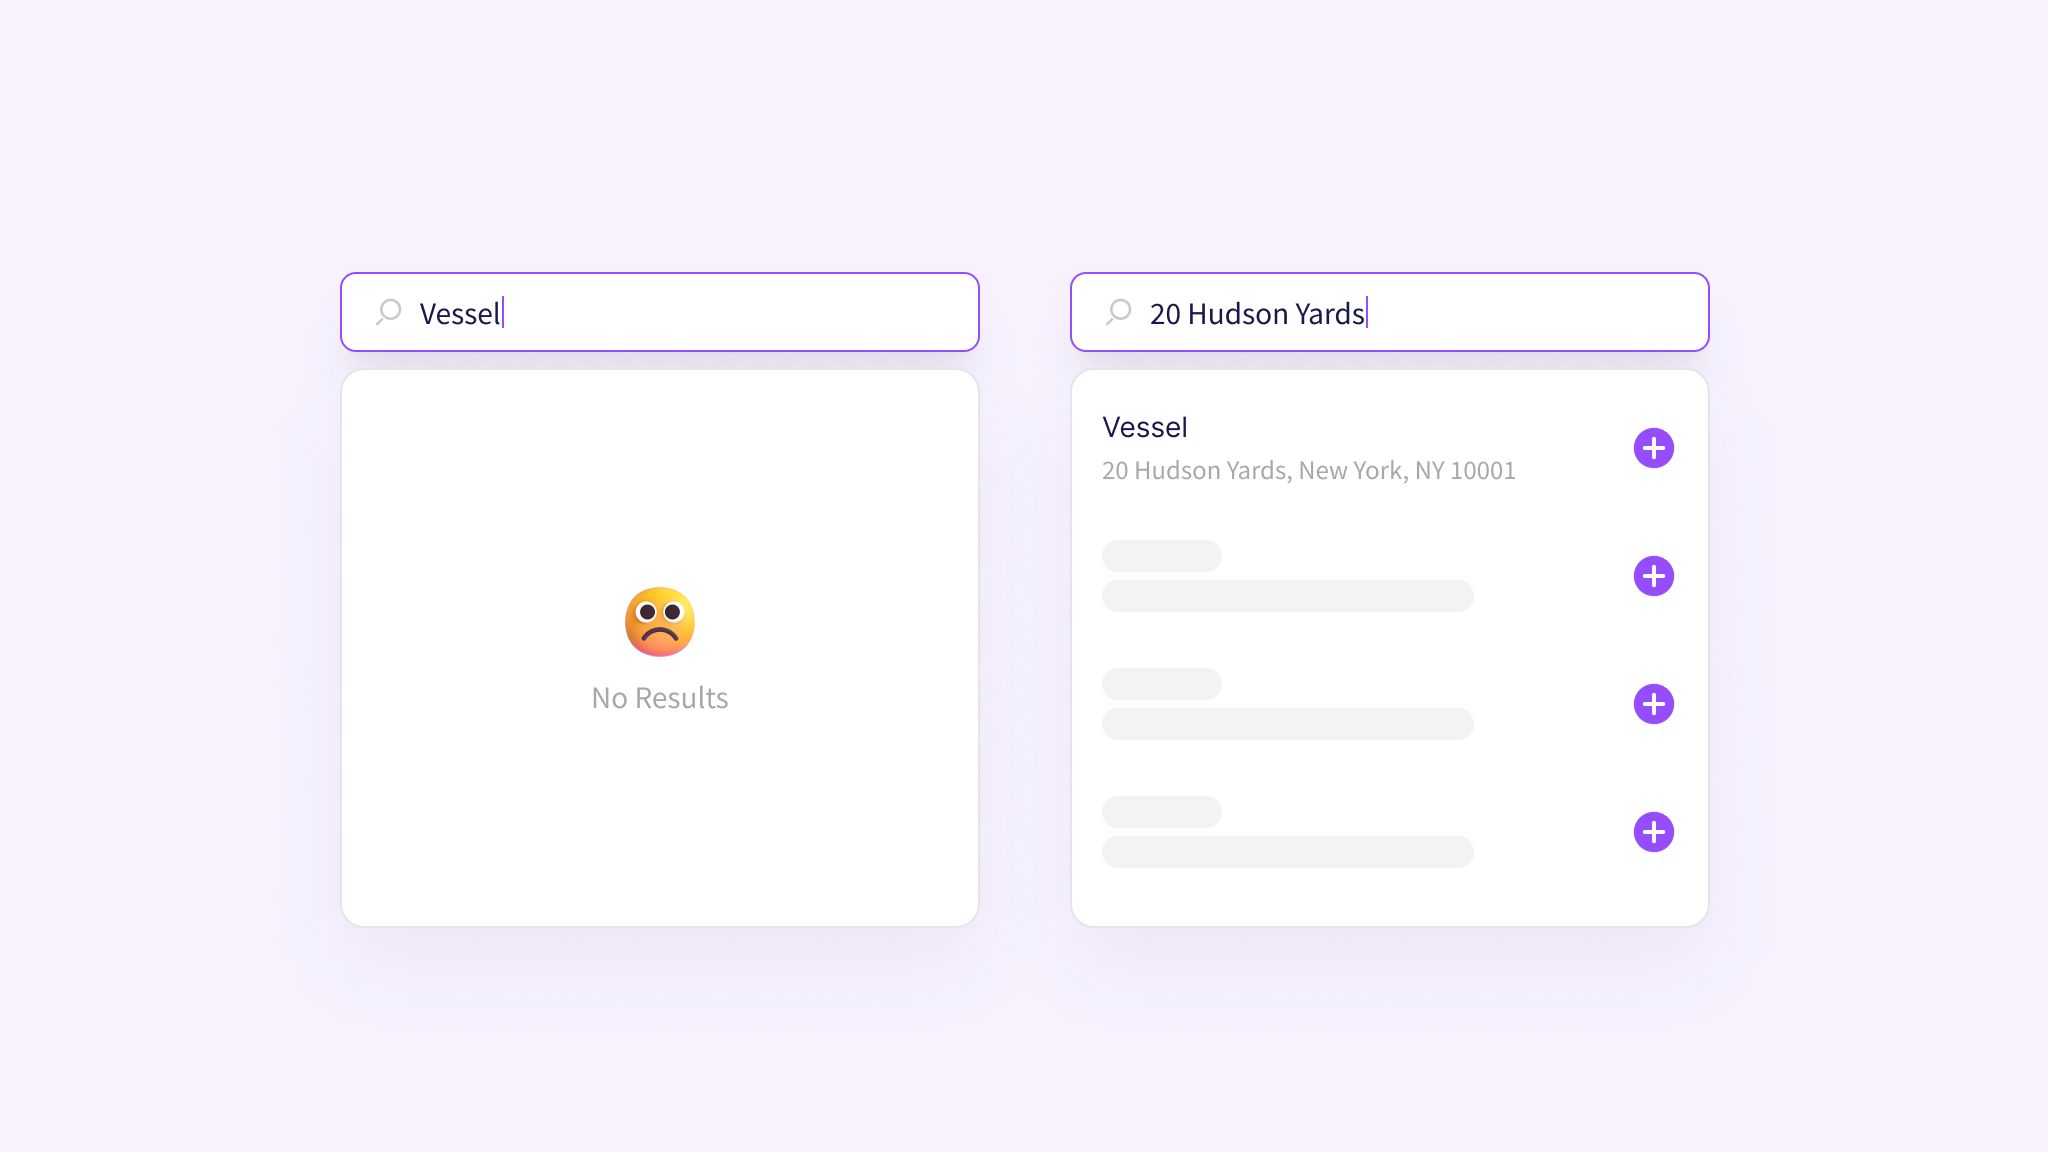
When a location name search yields no results, try searching for its specific address.
3. Preview Place Positions
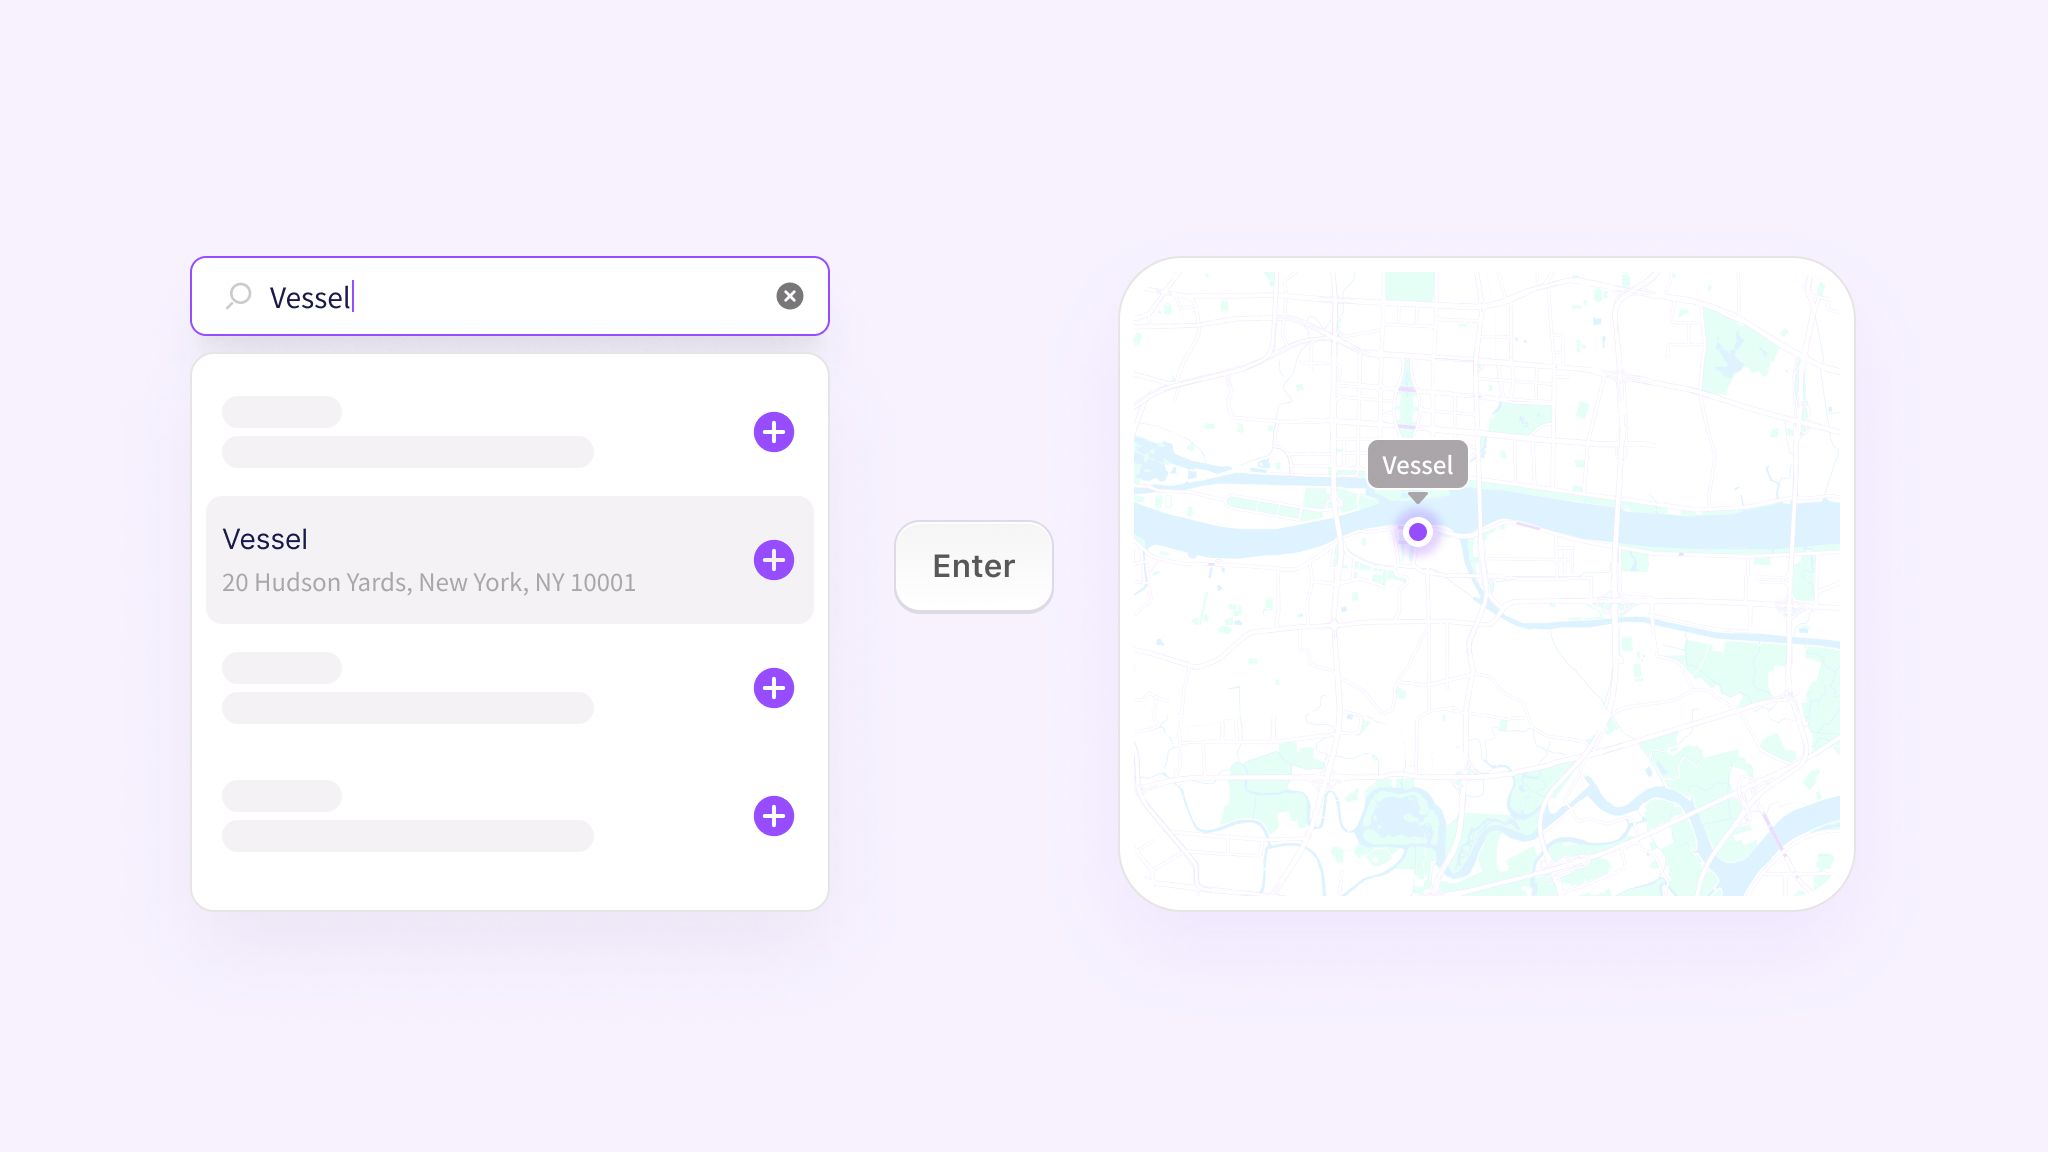
Following a search, use the up and down arrow keys to select a result. Then press Enter to preview the selected location on the map.
4. Quick Marking
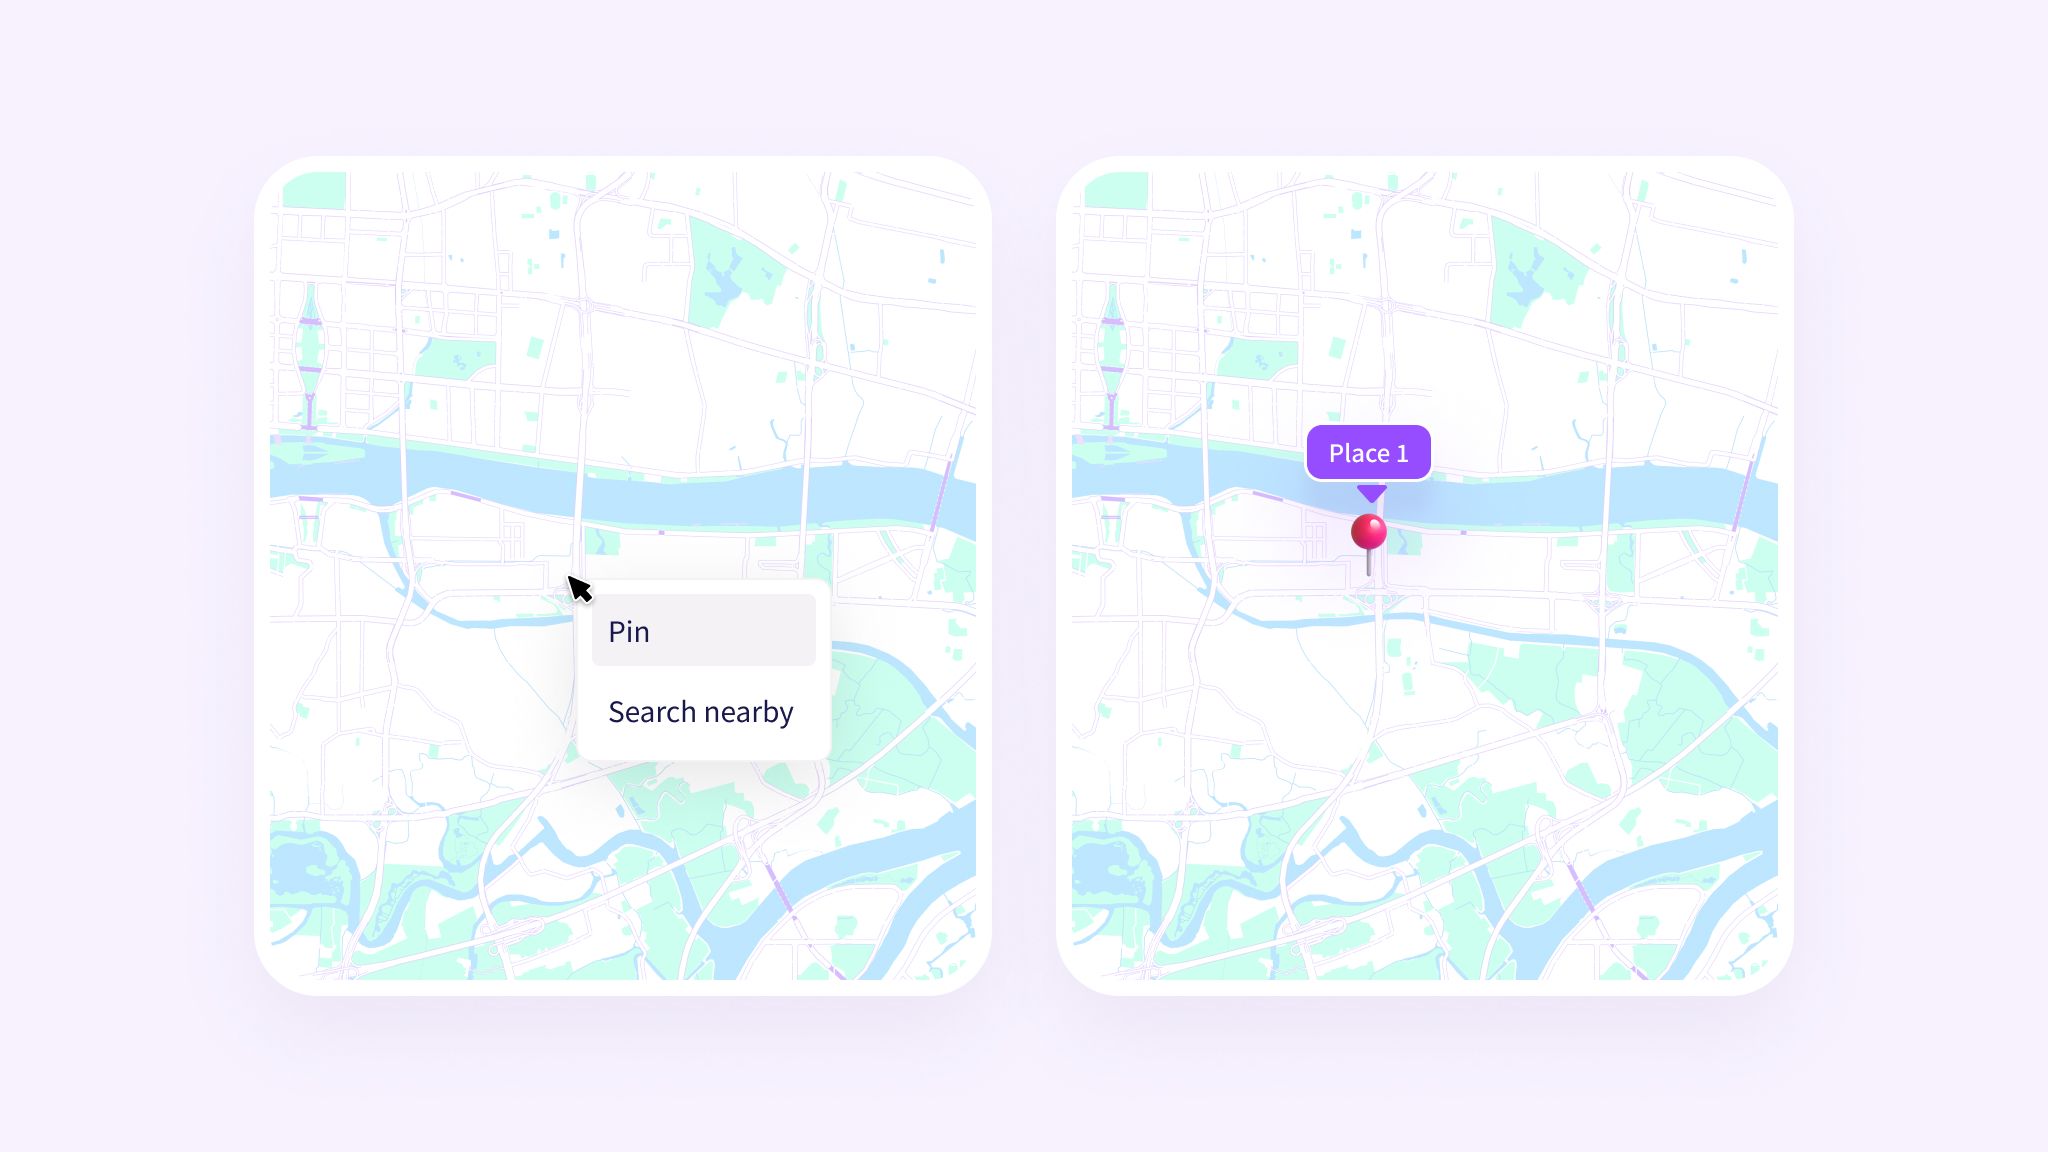
Use the right-click menu’s “Pin” option to swiftly tag the current mouse position as a new location on the map.
5. Search Nearby
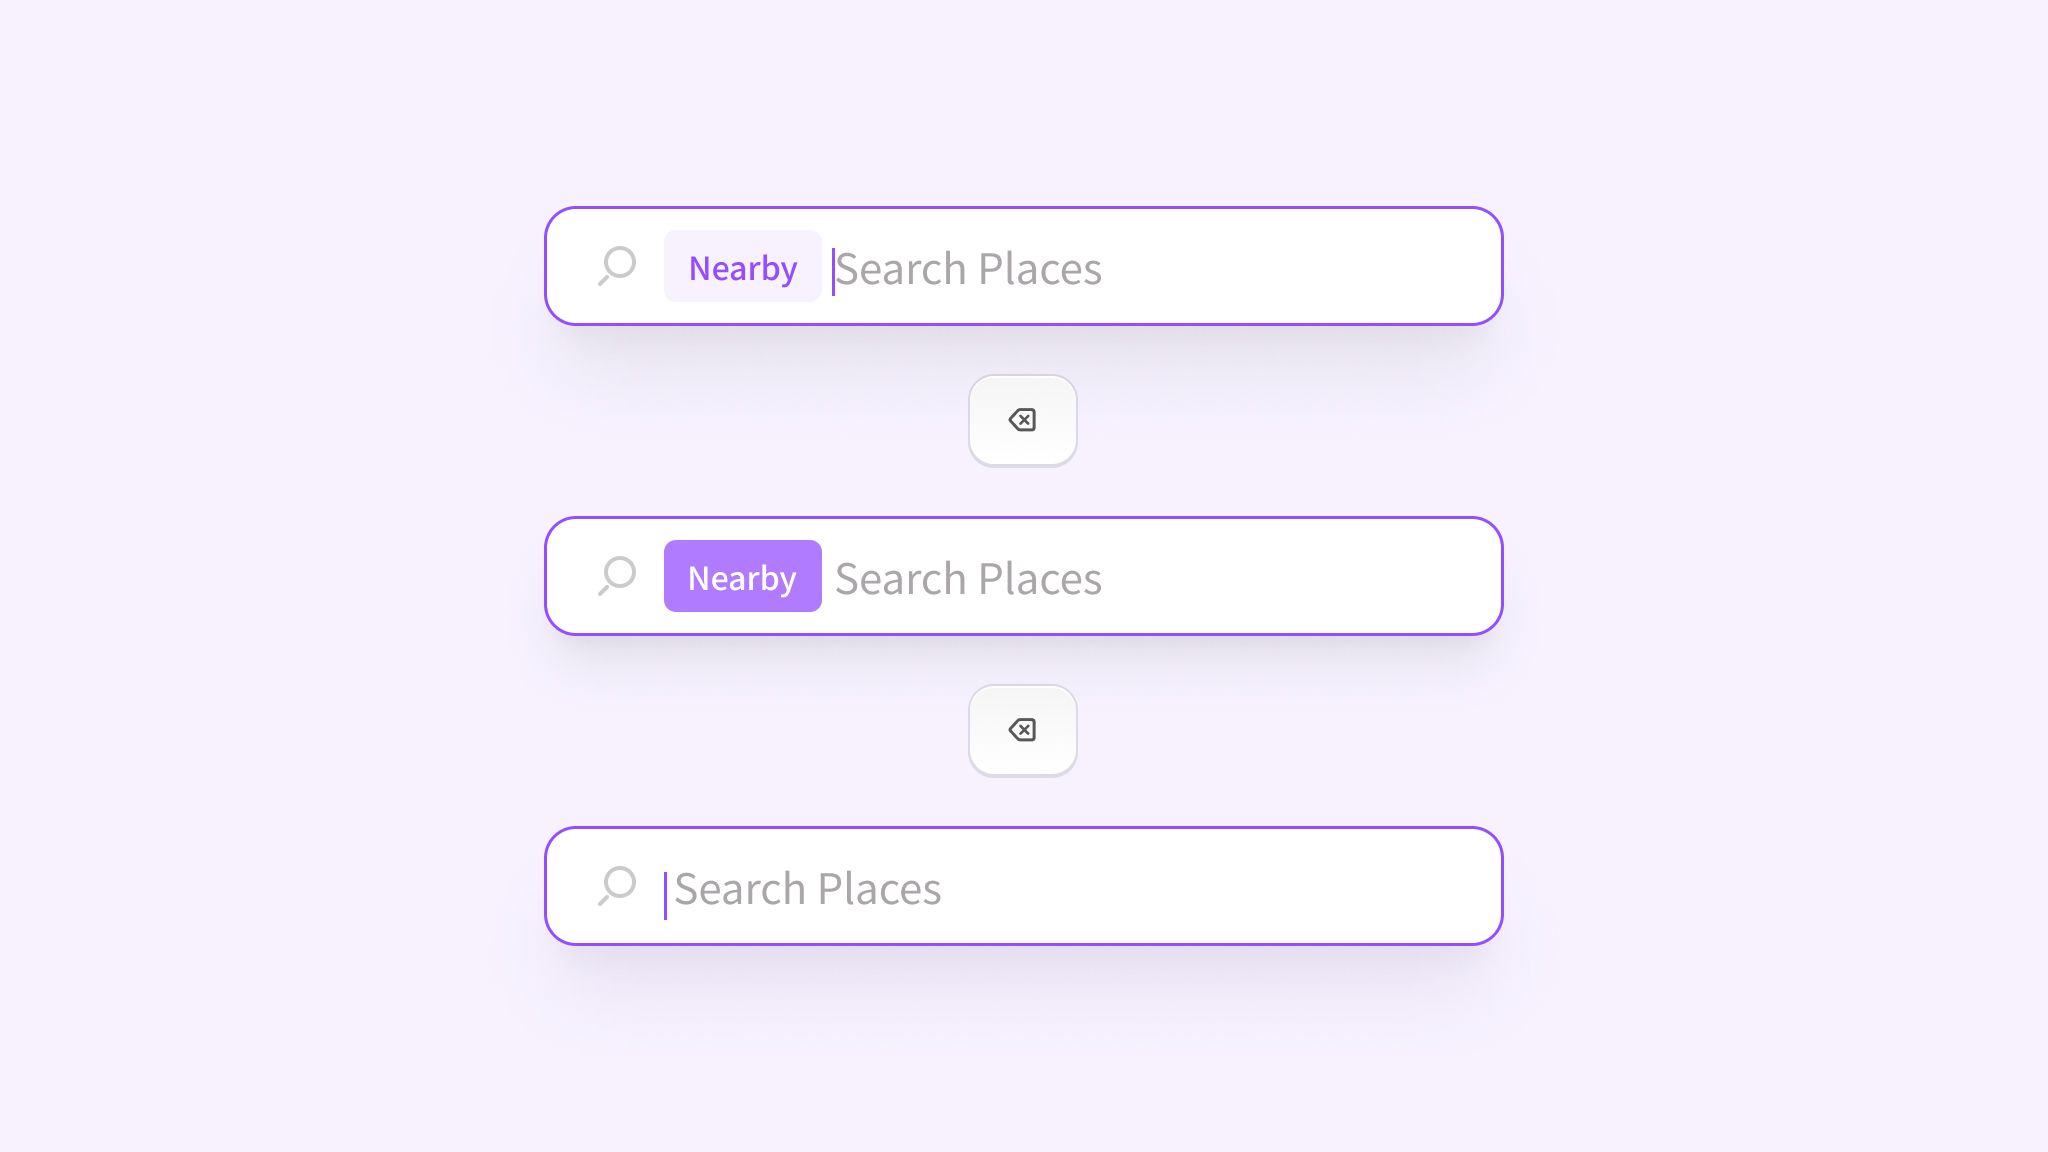
Use the right-click menu’s "Search Nearby" option to locate nearby points of interest. After a search, removing the "Nearby" tag from the search bar restores regular search functionality.
6. Multi-select Places
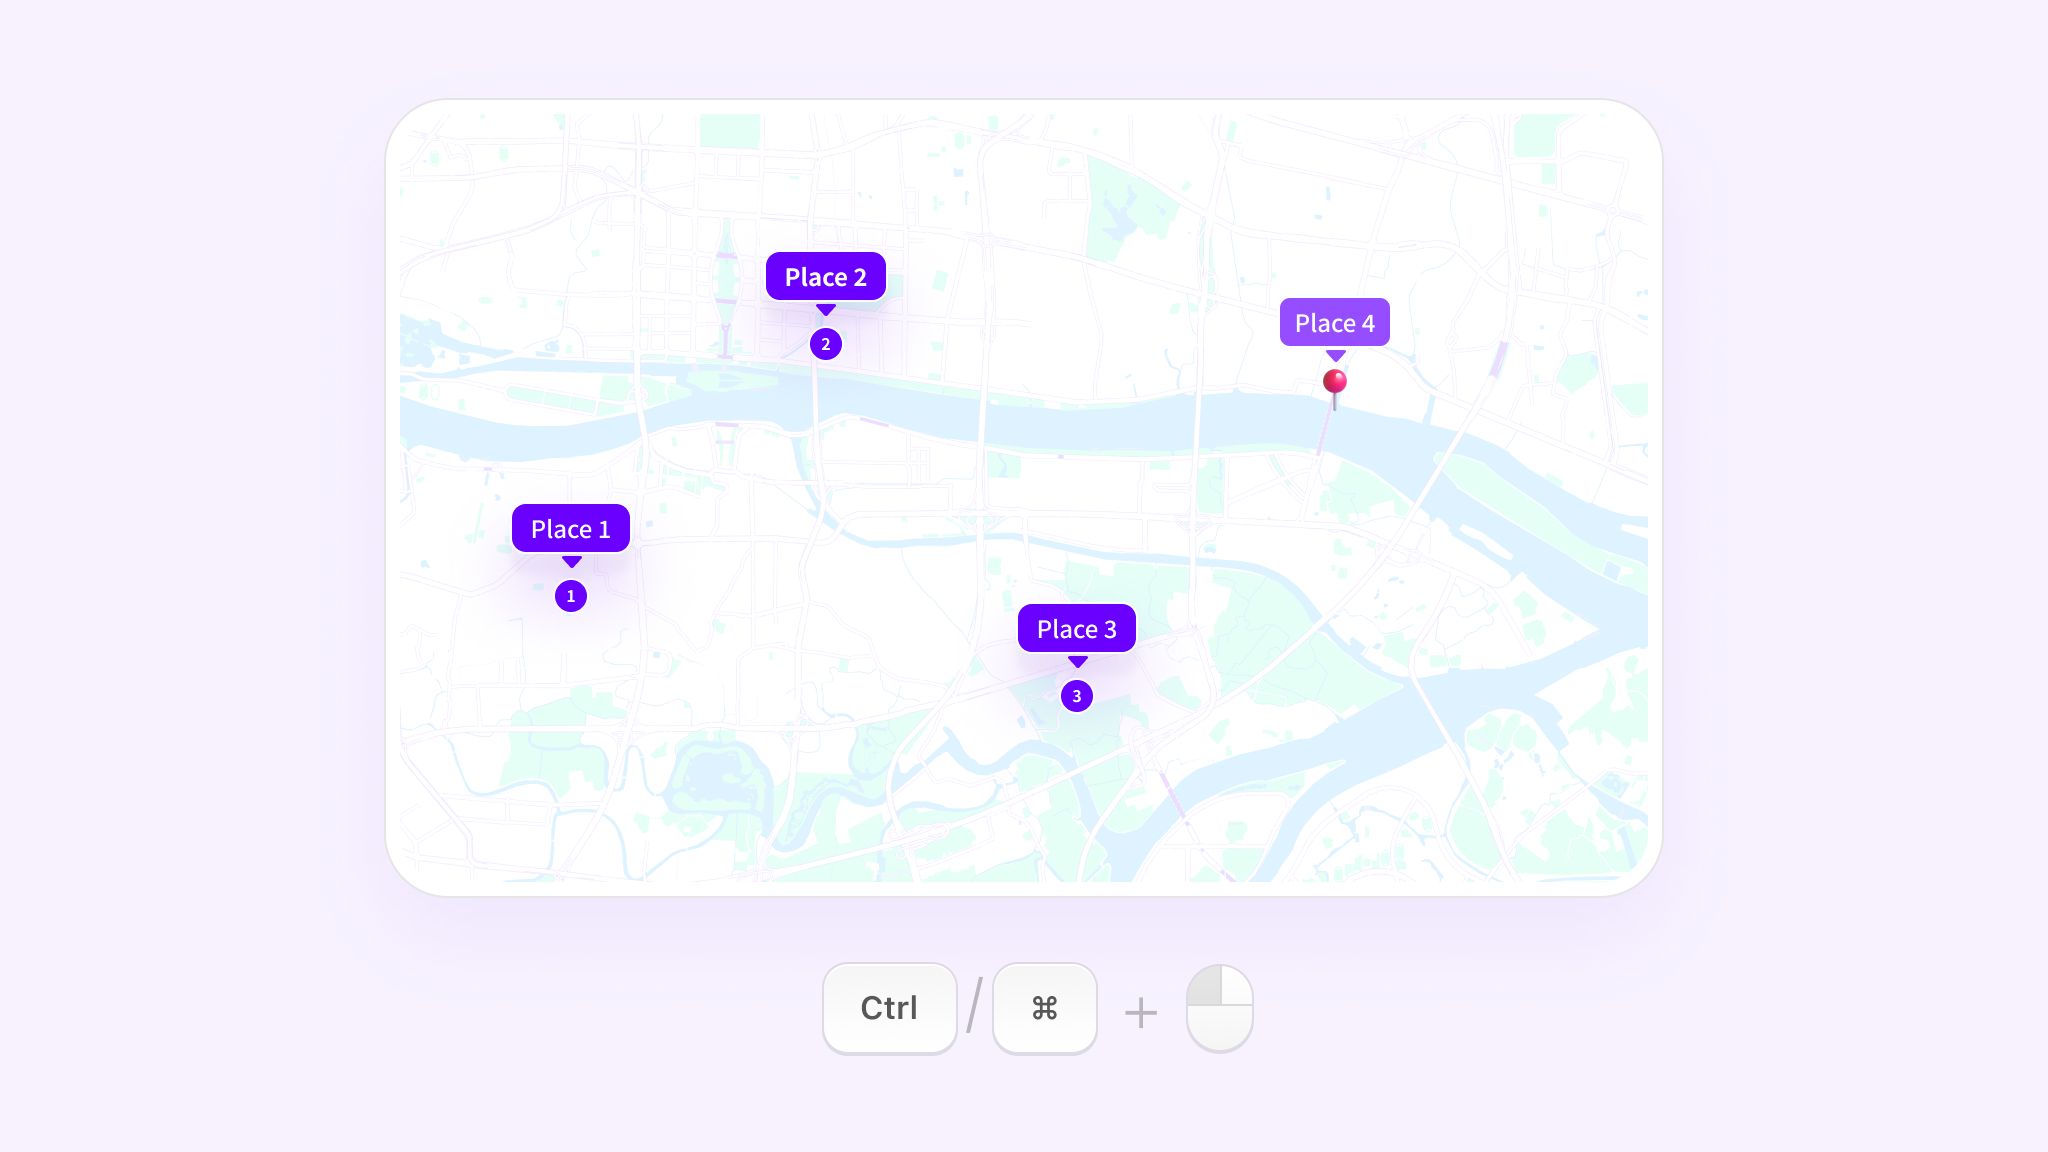
Use Ctrl/⌘ + Click to select multiple places by clicking on them consecutively.
7. Continuous Marking
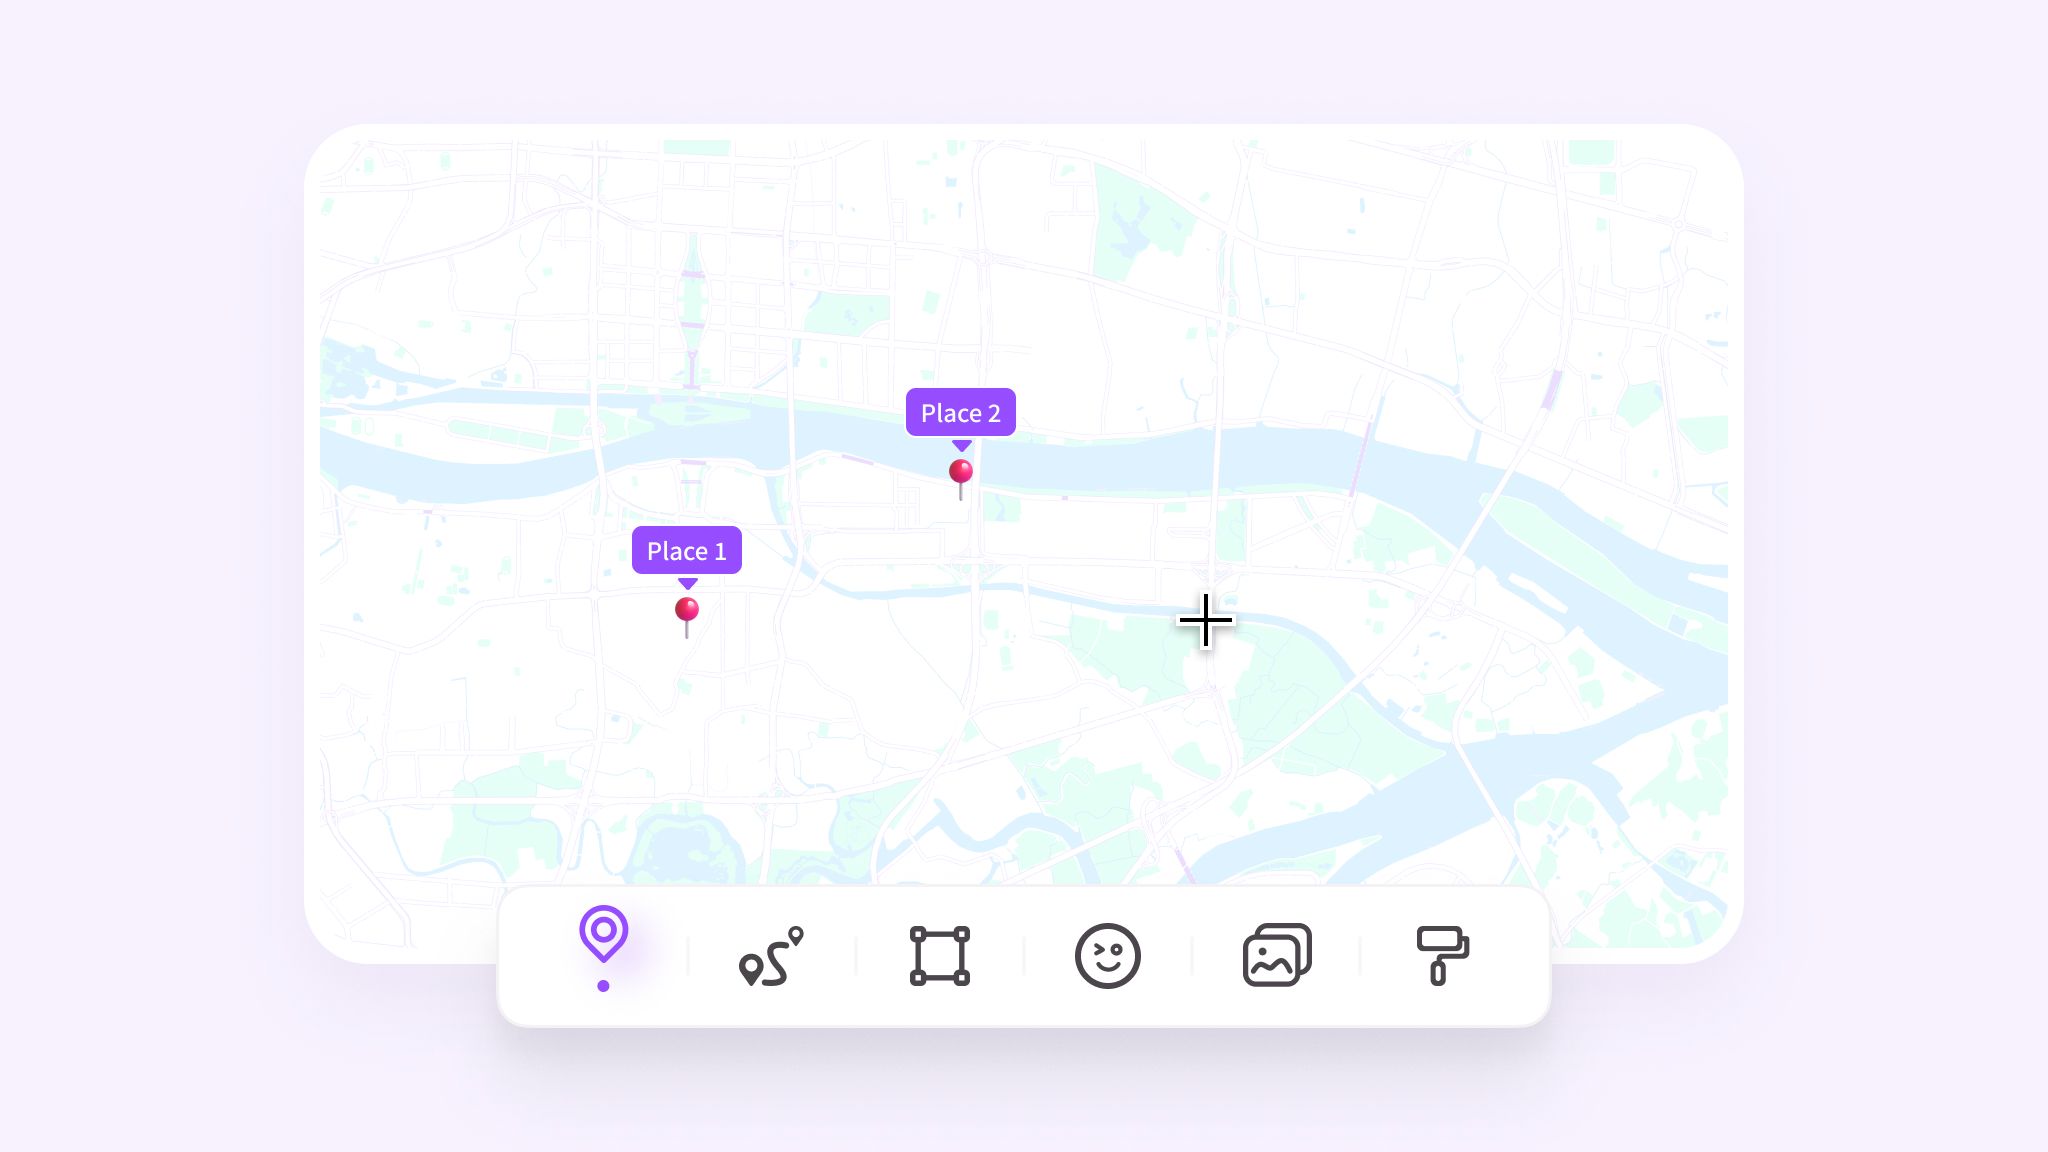
After selecting the place marking tool, consecutive clicks on the map allow for seamless addition of multiple places.
8. Display Original Place Names
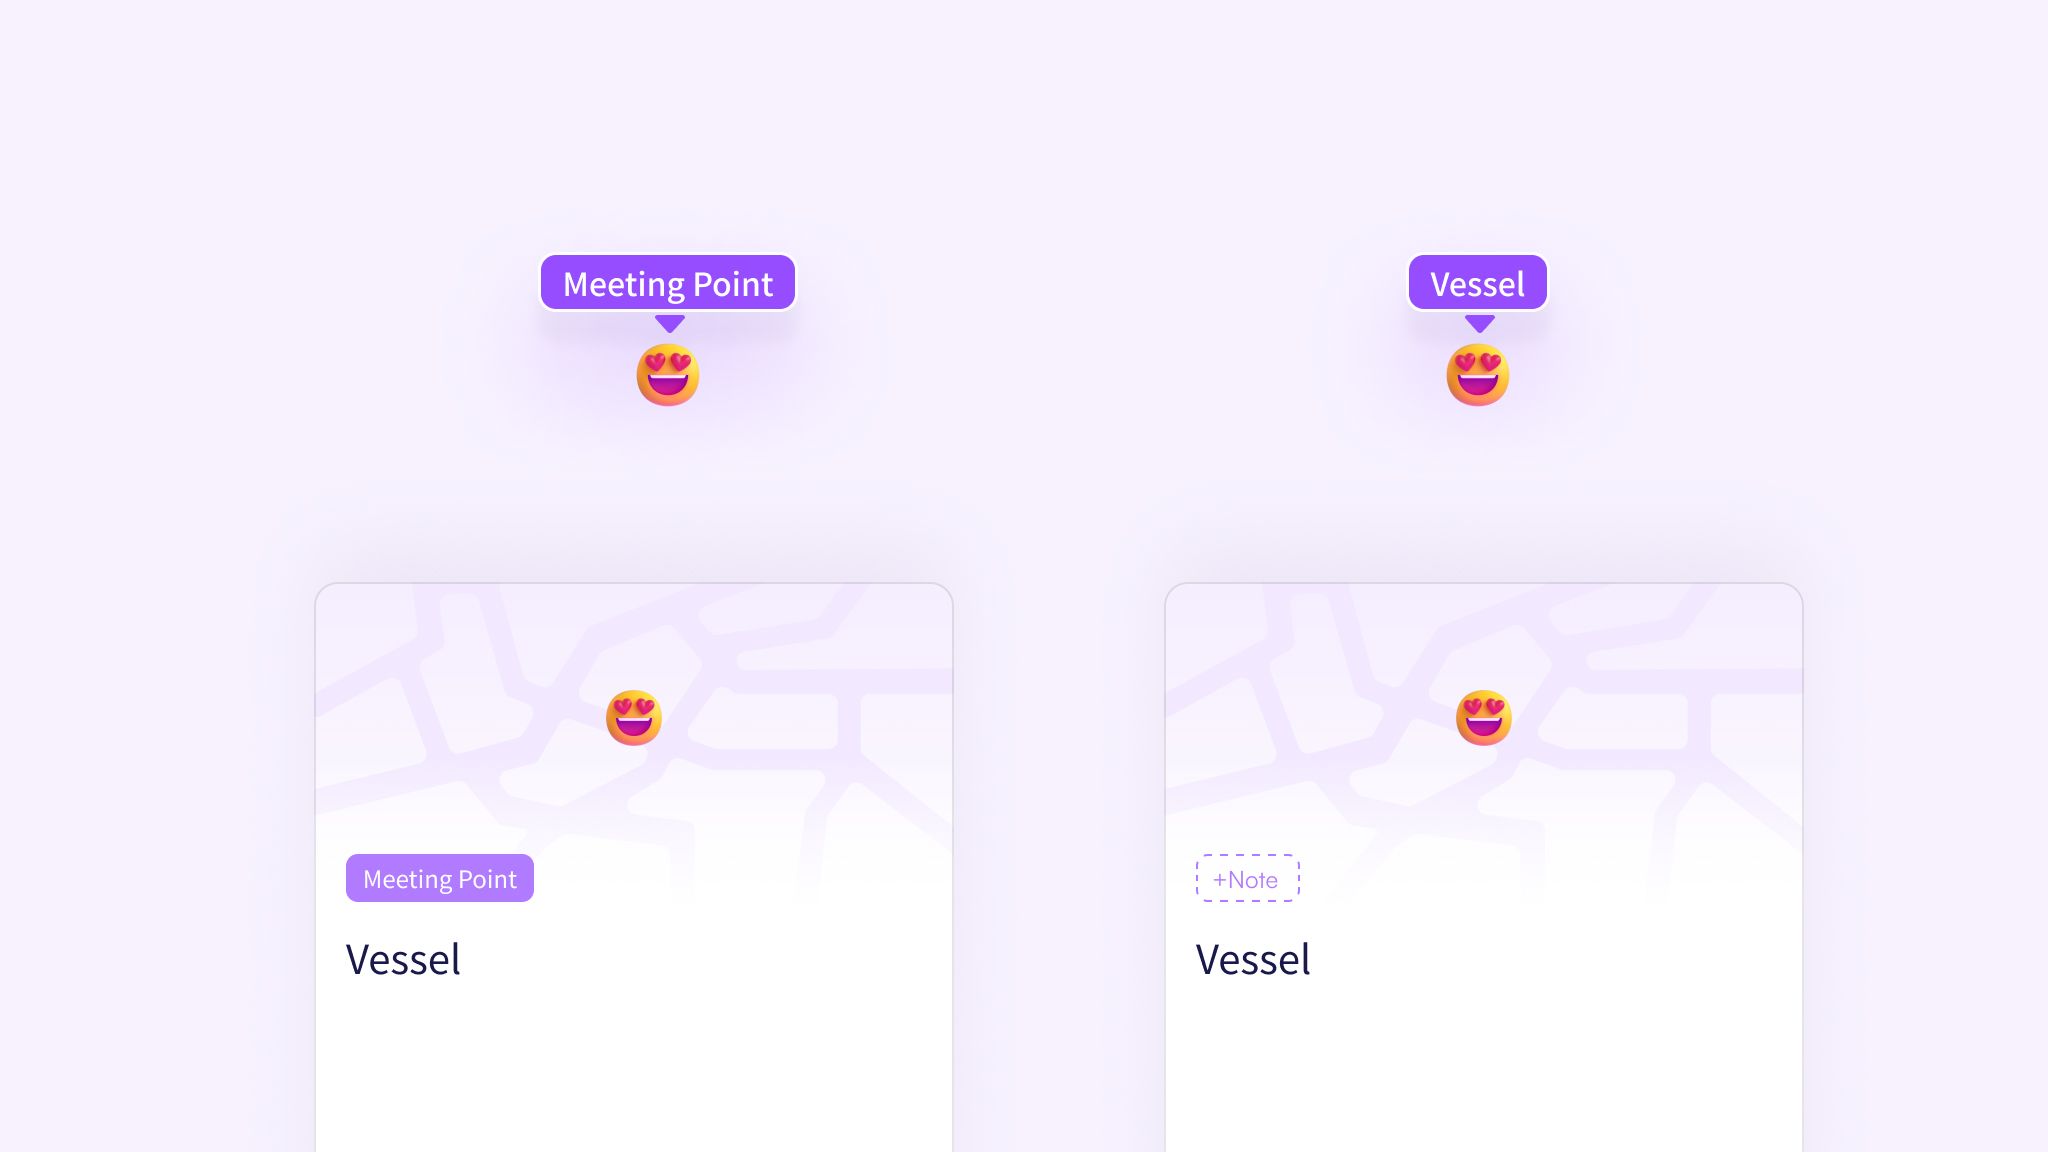
After deleting all notes for a location, it will revert to displaying its original name.
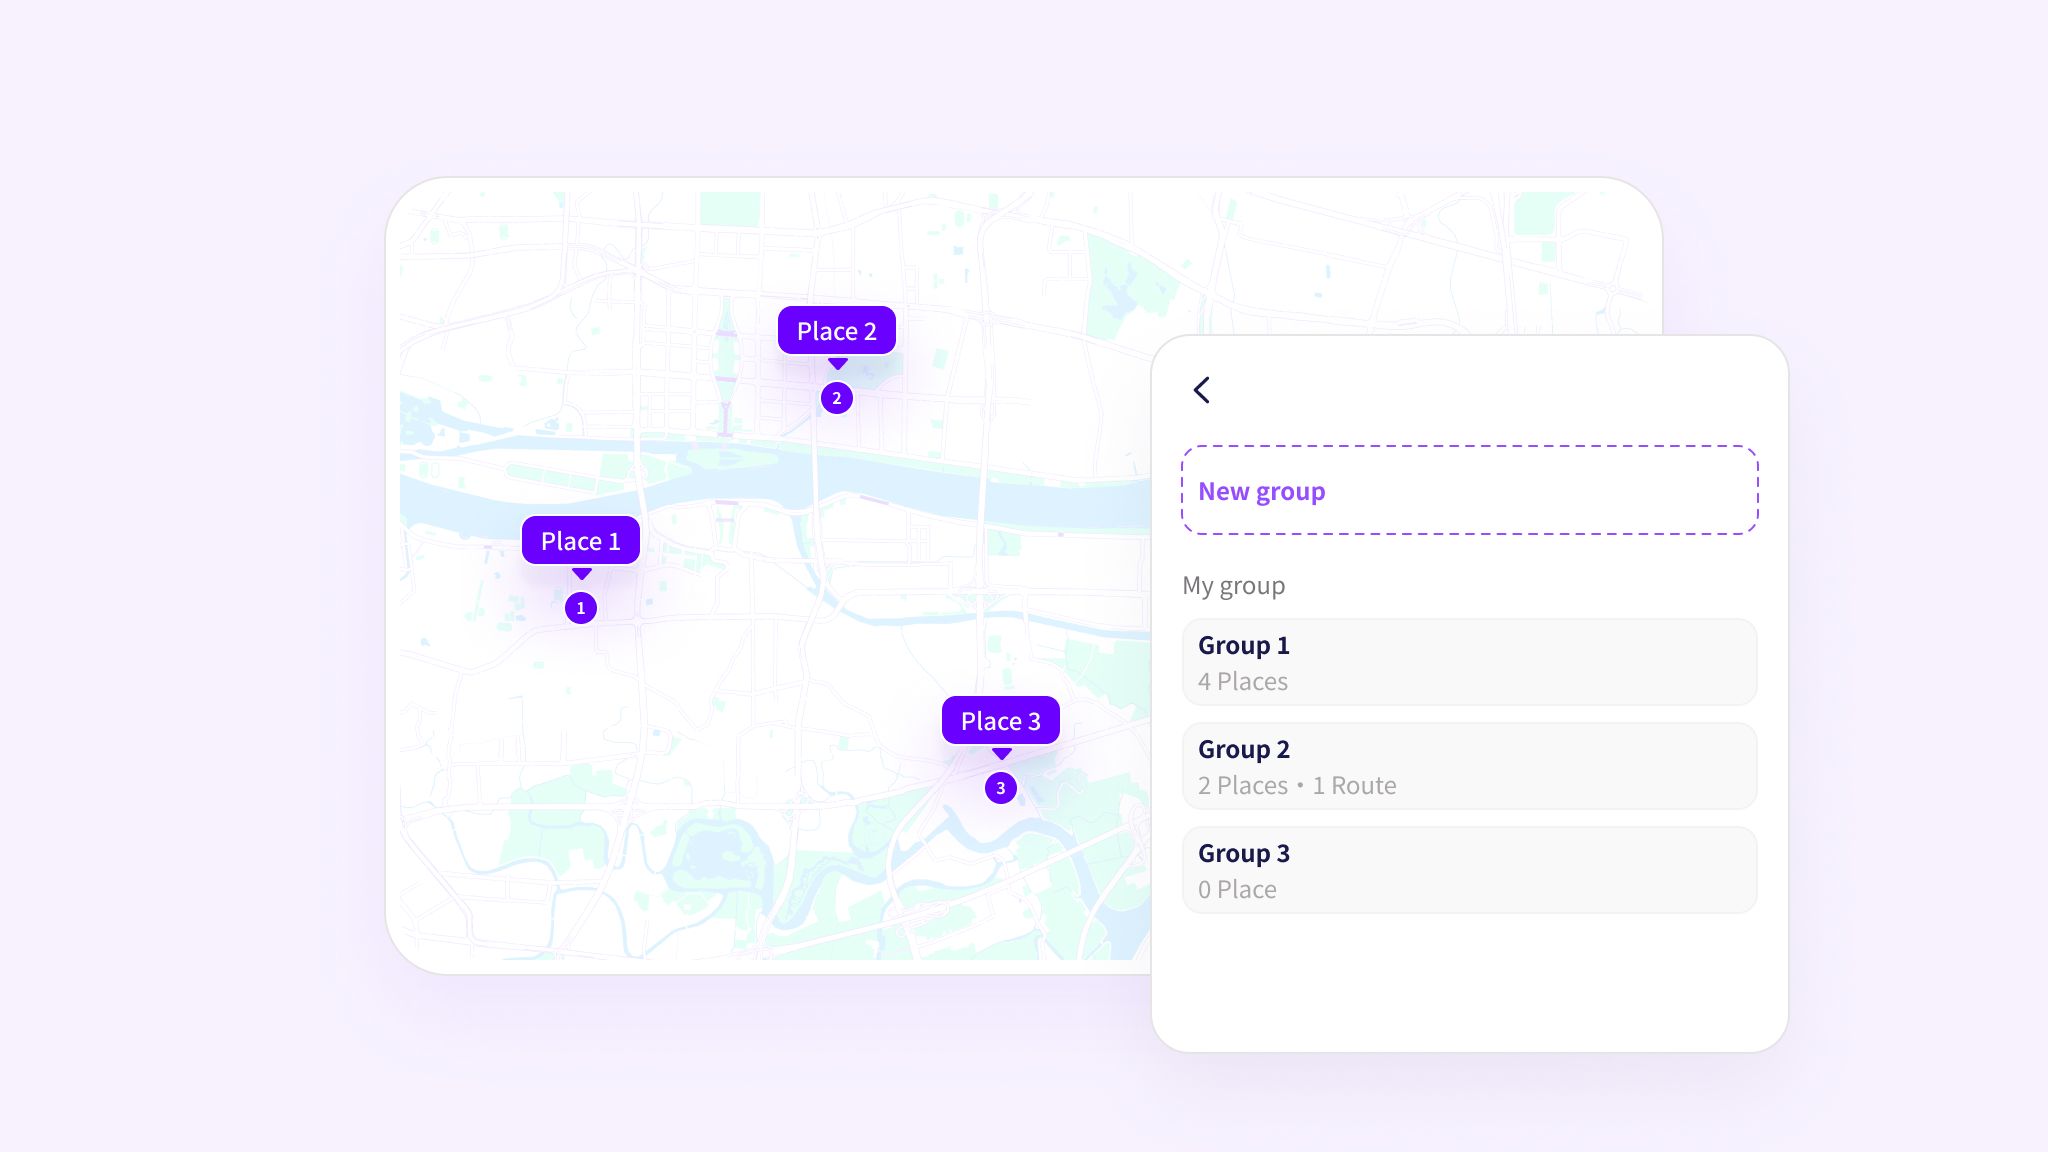
9. Bulk Add Places to Groups
After selecting multiple locations, swiftly assign them to existing groups using the panel on the right.
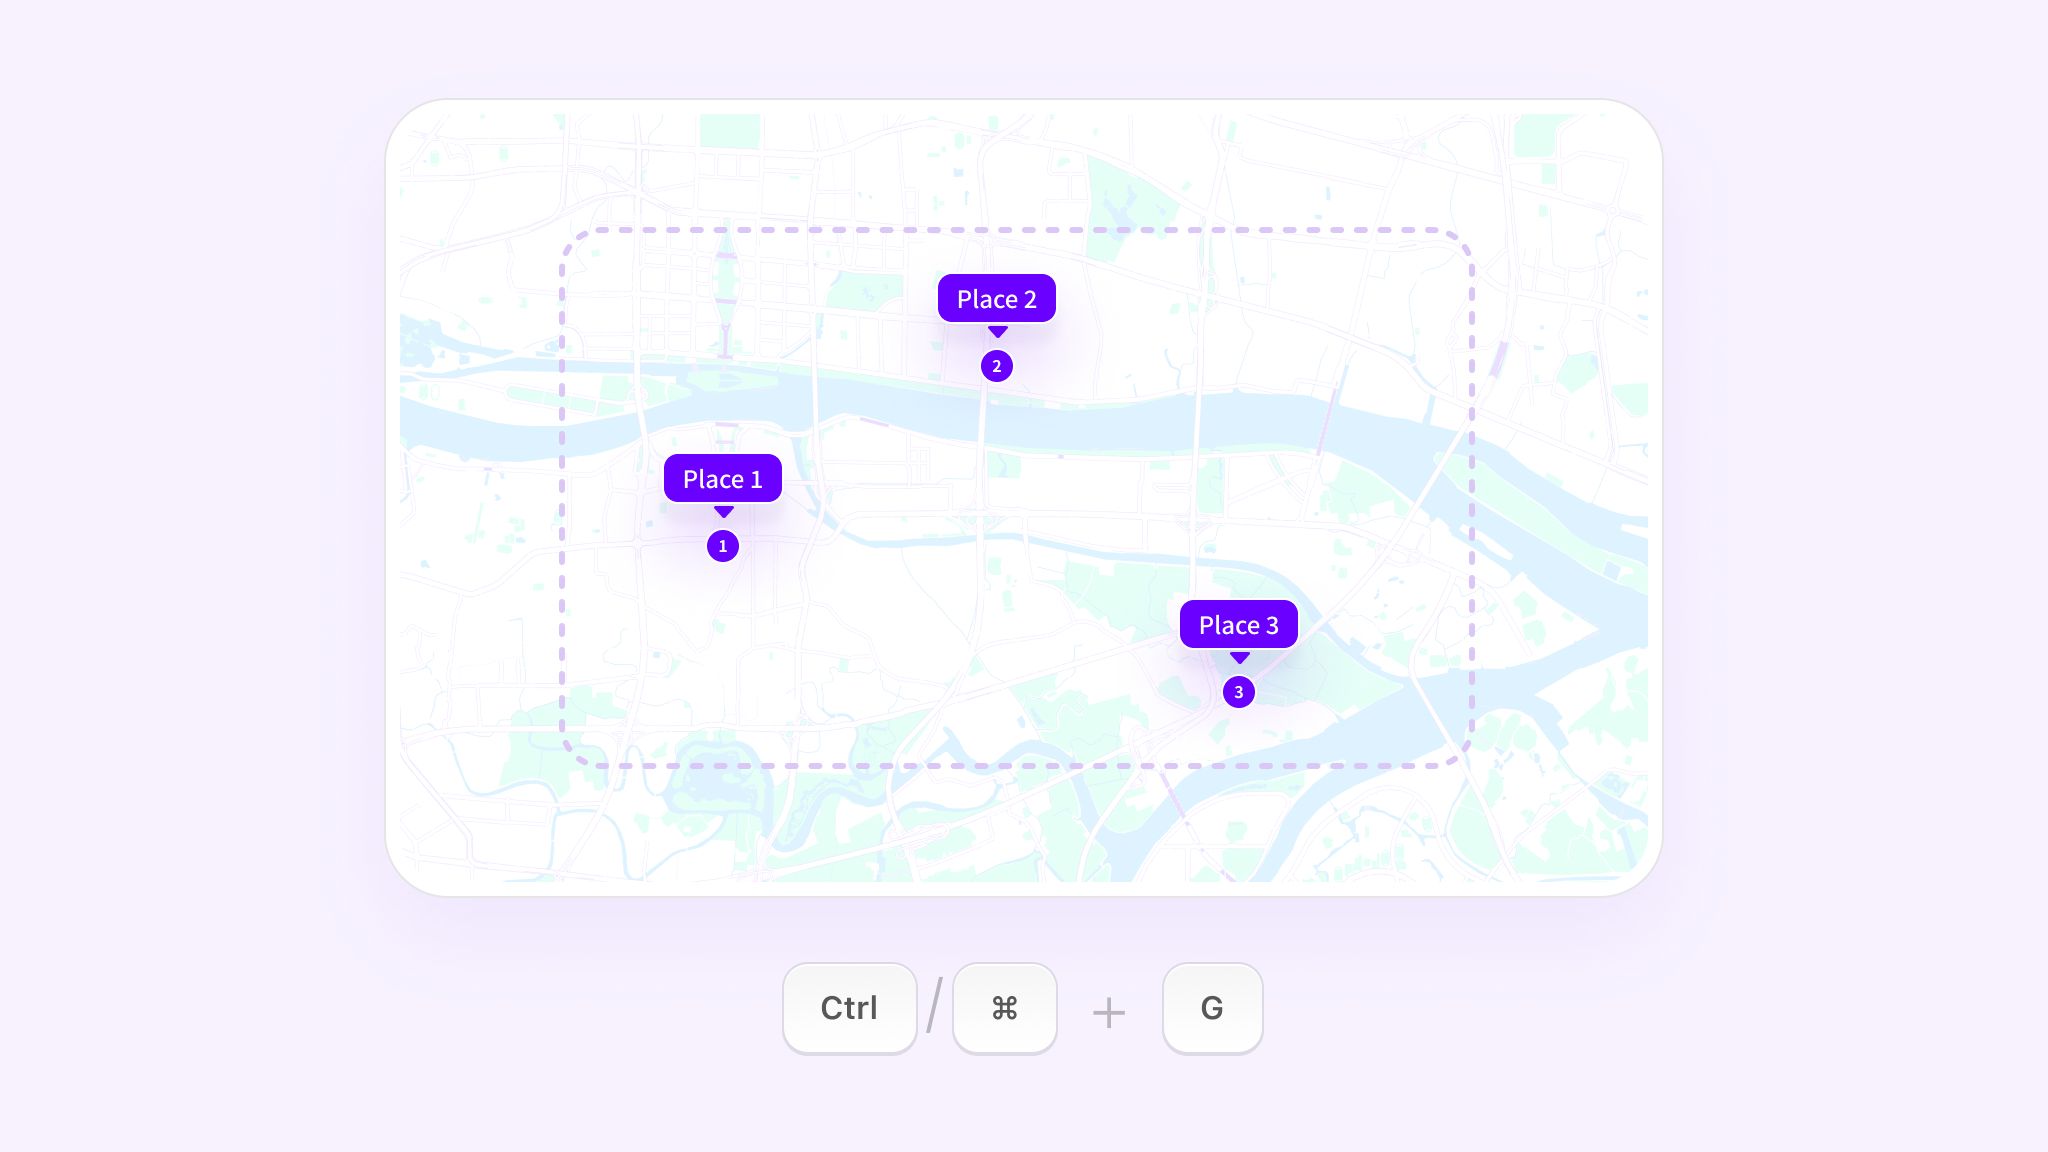
10. Quick Create New Groups
After selecting multiple locations, press Ctrl/⌘ + G to promptly create a new group for the selected places.
These are some of the most useful techniques for marking places on exping Web. Ready to try these out? Click below to get started now!
Share